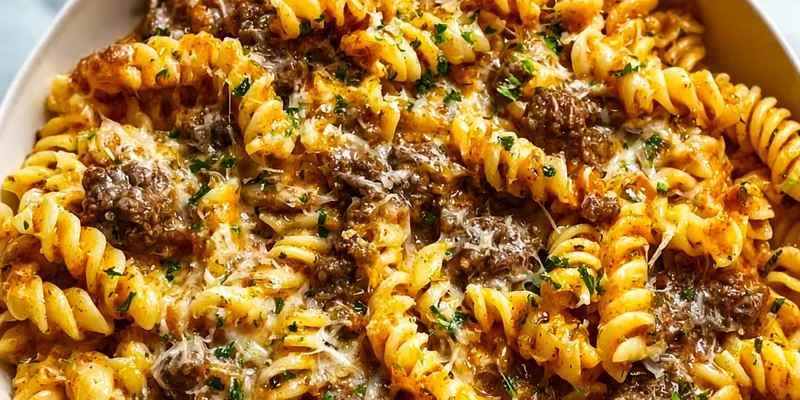
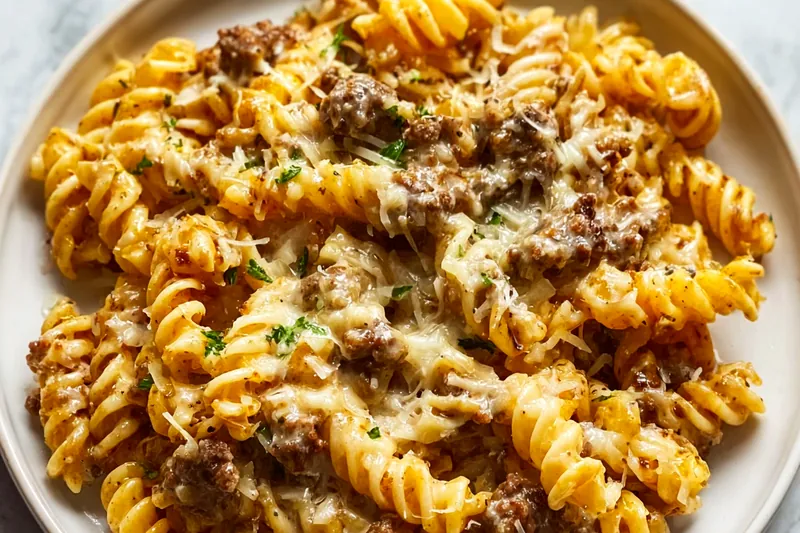
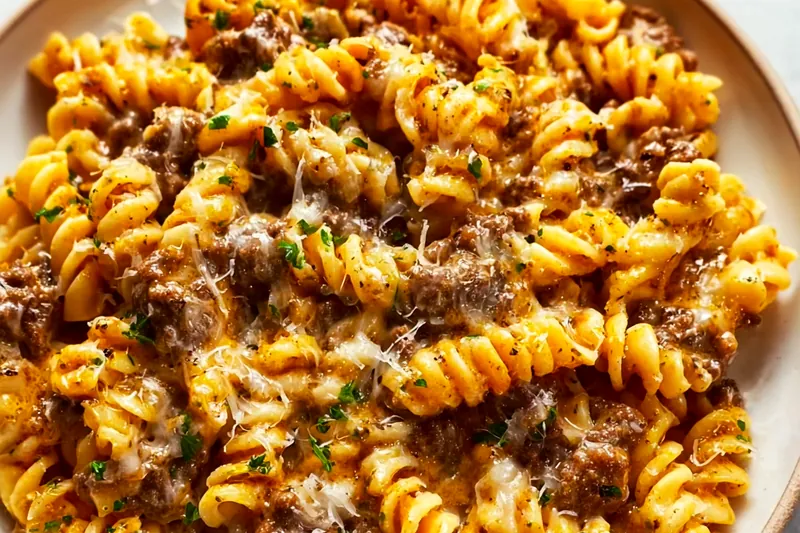
Serving Portion Plated
Master the art of perfect serving portion plating with professional techniques for elegant presentation and proper portioning. Ideal for special dinners and entertaining.

The Science of Portion Balance
Perfect portion plating begins with understanding proper serving sizes and visual weight distribution. The ideal plate uses the rule of thirds—protein occupying one-third, starch one-third, and vegetables filling the remaining space while creating visual harmony.
Temperature control is crucial for portion plating success. Warm plates keep food at optimal serving temperature while preventing condensation that can ruin sauce work and garnish placement.
💡 Professional Tip
Use the clock method for consistent plating: protein at 4-5 o'clock, starch at 7-8 o'clock, vegetables filling 10-2 o'clock. This creates natural flow and balance.
Frequently Asked Questions
Generally: 150-200g protein, 100-150g starch, 80-120g vegetables per serving. Adjust based on the meal's role (appetizer, main course, etc.) and dietary requirements.
Warm plates in a 140°F (60°C) oven for 10 minutes, or run them under hot water and dry thoroughly. Avoid overheating as this can cook delicate sauces.
Essential tools include squeeze bottles for sauces, offset spatulas, tweezers for garnishes, clean towels for plate edges, and a timer to ensure consistent plating speed.
Use small amounts of sauce or puree as 'glue' between components. Ensure plates are completely dry before plating, and avoid over-saucing which can cause sliding.
Use dots, drizzles, or pools strategically. Apply sauce under and around components, not over them. Use squeeze bottles or spoons for control and consistency.
Measure portions with scales or standardized scoops. Use the same plating pattern for each plate and work systematically. Practice the technique until it becomes muscle memory.
Use garnishes that complement the dish's flavors: fresh herbs, microgreens, edible flowers, or citrus zest. Avoid overgarnishing which can overwhelm the main components.
Aim for 2-3 minutes per plate maximum. Longer plating times result in cold food and compromised quality. Practice and preparation are key to speed.
Recipe Troubleshooting Guide
Uneven Portions
Problem: Serving sizes vary significantly between plates
Solution: Use kitchen scales or standardized portioning tools. Pre-portion components when possible and maintain consistent scooping techniques.
Cold Food
Problem: Food becomes cold during plating process
Solution: Work faster, keep components in warming equipment until plating, use warmed plates, and plate only what you can serve immediately.
Messy Plate Edges
Problem: Sauce and food debris on plate rims
Prevention: Keep a damp, clean towel nearby and wipe plate edges before final garnishing. Work carefully and use controlled movements.
Sauce Separation
Problem: Sauces break or separate on warm plates
Recovery: Don't overheat plates, emulsify sauces properly before plating, and apply sauces just before serving. Keep sauces at proper holding temperature.
Poor Visual Balance
Problem: Plates look cluttered or unbalanced
Prevention: Follow the rule of thirds, use odd numbers of elements, create height variation, and leave some negative space. Less is often more.
Consistency Issues
Too Sweet: Add acidic elements to balance overly sweet components
Too Salty: Balance with sweet or acidic garnishes and adjust sauce portions
Bland: Enhance with finishing salts, fresh herbs, or bright garnishes

Essential Equipment and Setup
Professional portion plating requires proper equipment and station setup. Invest in quality plates that retain heat well, squeeze bottles for sauce control, and precision tools like offset spatulas and tweezers for detailed work.
Organization is paramount for consistent results. Pre-portion all components, have garnishes prepped and easily accessible, and maintain clean towels throughout the plating process. A well-organized station enables smooth, efficient plating.
Essential Ingredient Notes
- Plate Selection: Choose plates that complement your food's colors and provide adequate space. White plates showcase colors best, while darker plates can add drama.
- Sauce Consistency: Ensure sauces have proper consistency for plating—not too thin to run, not too thick to pipe smoothly. Test on practice plates first.
- Component Temperature: All hot components should be at serving temperature when plating begins. Cold garnishes should be properly chilled and patted dry.

Mastering the Plating Sequence
Successful portion plating follows a logical sequence that maintains food temperature and visual appeal. Start with the largest, hottest component and work toward smaller, more delicate elements that require precise placement.
Timing is everything in portion plating. Each element should be added at the optimal moment to preserve texture, temperature, and appearance. Practice the sequence until it becomes second nature.
The Perfect Flow
Master chefs plate in a continuous motion, placing each component with purpose and precision. This fluid approach ensures consistency and prevents delays that compromise food quality.
Serving Portion Plated
📋 Ingredients
Main Components
- Sauce or reduction (30-45ml per serving)Proper consistency for plating
- Fresh herbs for garnishAdds color and aroma
- Microgreens for colorDelicate texture and visual appeal
- Edible flowers (optional)Elegant finishing touch
- Finishing oil or butterAdds shine and richness
- Coarse sea saltTextural contrast and flavor
- Lemon zest or citrus segmentsBright finishing element
Garnish & Finishing
- Main protein (150-200g per serving)The star of the plate
- Primary starch (100-150g per serving)Foundation component
- Seasonal vegetables (80-120g per serving)Color and nutritional balance
- Plate warming equipmentMaintains serving temperature
- Clean kitchen towelsFor pristine plate presentation
- Squeeze bottles for saucesPrecision sauce application
- Tweezers for precise placementProfessional garnish control
Instructions
Prepare Your Station
Warm plates to 140°F (60°C). Arrange all components at proper serving temperature. Have clean towels ready for plate edges and all garnishing tools within reach.
Position the Protein
Place the main protein slightly off-center on the plate, typically at the 4-5 o'clock position. This creates visual interest and leaves space for other components.
Add the Starch
Position the starch component to complement the protein, usually at 7-8 o'clock. Create height and texture variation while maintaining proper portion sizing.
Arrange Vegetables
Artfully arrange vegetables to add color and fill negative space. Vary heights and angles for visual appeal while ensuring each portion contains the proper amount.
Finish and Garnish
Apply sauce using dots, drizzles, or pools. Add final garnishes with tweezers for precision. Clean plate edges with a damp towel and serve immediately.
Recipe Notes & Tips
Timing
Perfect plating requires practice and timing. Start with simple presentations and gradually add complexity as your skills develop. Speed comes with repetition.
Equipment Care
Keep all plating tools scrupulously clean throughout service. Wipe tweezers and spatulas between uses to prevent cross-contamination of flavors and maintain hygiene.
Seasonal Adaptations
Adjust garnishes and colors seasonally to keep presentations fresh and relevant. Spring microgreens, summer edible flowers, autumn colors, and winter textures all enhance seasonal menus.
