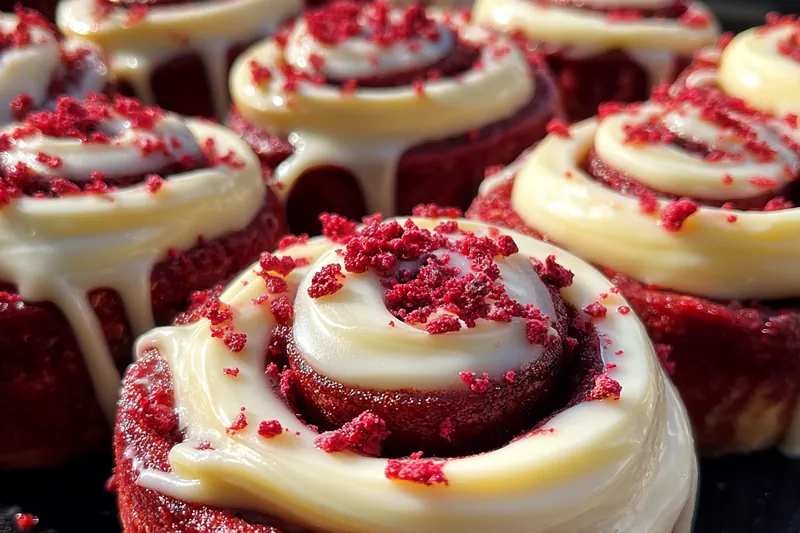
Red Velvet Cinnamon Rolls
These Red Velvet Cinnamon Rolls are a festive twist on a classic treat. With a rich red hue and sweet cinnamon filling, they're perfect for any occasion. Topped with cream cheese frosting, these rolls are sure to impress family and friends. Enjoy a delightful journey of flavor with each bite!


Why This Red Velvet Cinnamon Rolls Recipe Works
This recipe combines the classic flavors of red velvet cake with the comforting appeal of cinnamon rolls. The rich cocoa and red food coloring create a striking visual presentation while enhancing the flavor. Each ingredient is carefully selected to complement the others, resulting in a perfect balance of sweetness and spice.
The technique of rolling the dough tightly ensures that each roll is filled with cinnamon goodness. Allowing the dough to rise properly creates a light, fluffy texture that contrasts beautifully with the creamy frosting. The result is a dessert that looks as good as it tastes.
💡 Professional Tip
For the best results, be sure to use fresh ingredients, especially the yeast. If your dough isn’t rising, your yeast may be expired. Also, let your rolls cool slightly before frosting to ensure the icing doesn't melt off.
Frequently Asked Questions
Yes, you can prepare the rolls up to the point of baking, cover them tightly, and refrigerate overnight. In the morning, allow them to come to room temperature and rise for about 30 minutes before baking.
You can easily substitute buttermilk with a mixture of milk and vinegar or lemon juice. For each cup of buttermilk needed, use 1 tablespoon of vinegar or lemon juice, and then fill the rest of the cup with milk. Let it sit for about 5 minutes to thicken.
The rolls are done when they are golden brown on top and a toothpick inserted in the center comes out clean. Additionally, the rolls should feel firm to the touch but still soft.
Yes, you can freeze the uncooked rolls before baking. Place them on a baking sheet to freeze individually, then transfer them to an airtight container once frozen. When ready to bake, let them thaw and rise before baking as directed.
These rolls pair wonderfully with a cup of coffee or a glass of cold milk. For a festive touch, consider serving them with a side of whipped cream or vanilla ice cream.
When stored in an airtight container, Red Velvet Cinnamon Rolls can last in the fridge for about 3-5 days. Be sure to reheat them gently to maintain their texture.
Absolutely! You can prepare and shape the rolls a day in advance and refrigerate them. This allows for a quick bake in the morning, making them a great option for breakfast or brunch gatherings.
To reheat, place the rolls in a microwave for about 15-20 seconds or in an oven at 350°F (175°C) for about 10 minutes. This will help revive their softness without drying them out.
Recipe Troubleshooting Guide
Too Dry
Problem: The rolls turn out dry and crumbly.
Solution: Ensure you are measuring your flour correctly and not over-mixing the dough. Adding a little more buttermilk if the dough seems too dry can help.
Not Crispy Enough
Problem: The rolls lack a crispy exterior.
Solution: Try baking the rolls a bit longer or adjusting the oven temperature. Ensure the rolls are placed in the center of the oven for even heat distribution.
Overcooked
Problem: The rolls are dark on the outside but undercooked inside.
Prevention: To prevent overcooking, keep an eye on the rolls and use a toothpick to test for doneness. You can cover them with foil if they brown too quickly.
Undercooked Center
Problem: The center of the rolls remains doughy.
Recovery: If this happens, return the rolls to the oven for an additional 5-10 minutes, covering them with foil to prevent burning the tops.
Burnt Exterior
Problem: The outside of the rolls is burnt while the inside is still soft.
Prevention: Lower the oven temperature next time and keep an eye on the rolls as they bake. An oven thermometer can help ensure accuracy.
Flavor Balance
Too Sweet: If the rolls are too sweet, consider reducing the sugar in the dough or frosting next time.
Too Salty: If they taste too salty, verify your measurements and avoid adding extra salt to the filling.
Bland: To enhance flavor, try adding a pinch of nutmeg or more cinnamon to the filling for extra warmth.

Essential Ingredients for Red Velvet Cinnamon Rolls
The key ingredients for these rolls include all-purpose flour, cocoa powder, and buttermilk, which give the dough its unique texture and flavor. The red food coloring is essential for that iconic red velvet appearance, while the cinnamon and sugar create a delightful filling.
Using high-quality vanilla extract and fresh eggs will enhance the overall taste of these cinnamon rolls. The combination of these ingredients results in a rich, moist, and flavorful dessert that everyone will love.
Essential Ingredient Notes
- All-Purpose Flour: Using all-purpose flour provides the right balance of structure and tenderness in the rolls. Make sure to spoon and level it for accurate measurement to avoid dense rolls.
- Red Food Coloring: For the best color, choose a gel-based food coloring rather than liquid. This will give you a vibrant red hue without altering the dough's consistency.
- Cream Cheese: Using softened cream cheese makes for a smooth and easy-to-spread frosting. Let it sit at room temperature for about 30 minutes before using it to achieve the perfect texture.
Step-by-Step Cooking Process
Making Red Velvet Cinnamon Rolls is simpler than it seems! Start by preparing the dough and letting it rise, then roll it out and add the filling. This hands-on approach not only makes for a fun baking experience but also results in fresh and warm rolls.
The key to achieving perfect results lies in the dough's texture and the rising time. Be patient and allow the dough to rise until it doubles in size for light and fluffy rolls.
Key Technique for Perfect Red Velvet Cinnamon Rolls
The most important technique is properly rolling the dough tightly when forming the log. This ensures that each cinnamon roll has an even distribution of the filling and helps them bake uniformly.
Red Velvet Cinnamon Rolls
📋 Ingredients
Main Ingredients
- 1 cup butterRoom temperature
- 1 cup powdered sugarSifted
- 1 teaspoon vanilla extractFor flavor
- 1/4 cup cream cheeseSoftened
- 2 tablespoons milkFor consistency
For the Sauce
- 2 cups all-purpose flourPlus more for dusting
- 1 cup sugarGranulated
- 1/4 cup cocoa powderUnsweetened
- 1/2 teaspoon baking sodaFor leavening
- 1 teaspoon baking powderFor rise
- 1/2 teaspoon saltFor balance
- 1/2 cup buttermilkFor moisture
- 1/4 cup vegetable oilFor richness
- 1 large eggRoom temperature
- 1 tablespoon red food coloringFor color
- 1 tablespoon vanilla extractFor flavor
- 1/4 cup butter, softenedFor filling
- 1/2 cup brown sugarFor sweetness
- 1 tablespoon cinnamonFor flavor
- 1 cup cream cheese, softenedFor frosting
Instructions
Prepare Ingredients
In a large bowl, combine flour, sugar, cocoa powder, baking soda, baking powder, and salt.
Mix Wet Ingredients
In another bowl, whisk together buttermilk, vegetable oil, egg, red food coloring, and vanilla extract.
Combine Ingredients
Gradually add the wet mixture to the dry ingredients, mixing until a soft dough forms.
Knead the Dough
Turn the dough onto a floured surface and knead gently for about 2 minutes.
Roll Out the Dough
Roll the dough into a rectangle about 1/4 inch thick.
Prepare Filling
Spread softened butter over the dough and sprinkle with brown sugar and cinnamon.
Roll and Cut
Roll the dough tightly into a log and cut into 6 equal pieces.
Arrange in Baking Dish
Place the rolls in a greased baking dish and let them rise for 30 minutes.
Bake
Preheat your oven to 350°F (175°C) and bake for 25-30 minutes until golden.
Prepare Cream Cheese Frosting
In a bowl, beat the cream cheese until smooth and creamy, then frost the rolls after they cool.
Serve
Enjoy your delicious Red Velvet Cinnamon Rolls warm!
Recipe Notes & Tips
Storage Tips
To keep your Red Velvet Cinnamon Rolls fresh, store them in an airtight container at room temperature for up to 3 days. For longer freshness, refrigerate, but reheat before serving for the best texture.
Serving Suggestions
Serve these rolls warm, topped with cream cheese frosting. They are perfect for brunch, dessert, or as a sweet treat with coffee or tea.
Recipe Variations
You can experiment by adding nuts, chocolate chips, or different spices to the filling. For a twist, try a caramel drizzle or serve them with a scoop of vanilla ice cream.