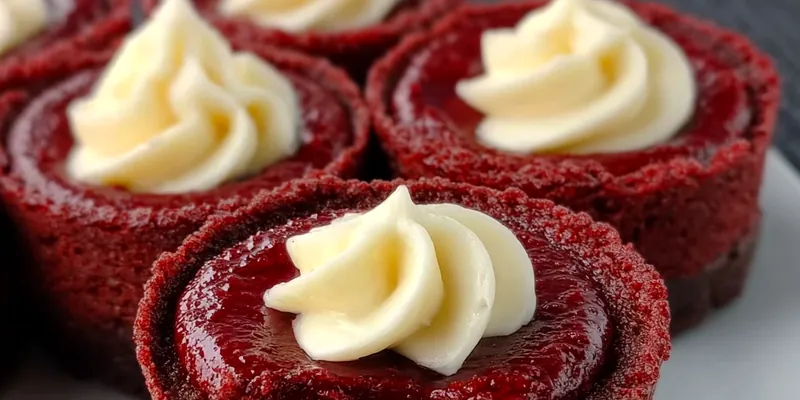
Mini Red Velvet Cheesecake
Individual red velvet cheesecakes with graham cracker crust and cream cheese frosting. Perfect portion-controlled desserts for parties and special occasions.

Perfecting Mini Cheesecake Technique
The key to perfect mini cheesecakes lies in gentle baking and proper cooling. Unlike full-size cheesecakes, these small portions bake quickly and can easily overcook. The centers should still have a slight jiggle when removed from the oven - they'll finish setting as they cool, resulting in that perfect creamy texture.
Room temperature ingredients are crucial for smooth, lump-free filling. Cold cream cheese will create lumps no matter how long you beat it, so plan ahead and let your dairy ingredients come to room temperature for at least 2 hours before starting.
💡 Professional Tip
Use a small ice cream scoop or large spoon to portion the filling evenly among the muffin cups. This ensures uniform size and even baking for all your mini cheesecakes.
Frequently Asked Questions
Yes, but they won't have the signature red velvet color. You can use natural alternatives like beet juice powder, though the color will be more muted.
Don't overbake - centers should still jiggle slightly. Also, avoid opening the oven door during baking, and let them cool gradually at room temperature.
Yes! Wrap individually in plastic wrap and freeze for up to 3 months. Thaw overnight in refrigerator before serving.
The small amount of vinegar reacts with the cocoa powder to enhance the red color and adds a subtle tang that's characteristic of red velvet.
Absolutely! Try chocolate cookie crumbs, vanilla wafer crumbs, or even crushed red velvet cookies for extra flavor coordination.
Ensure cream cheese and butter are completely softened, beat them first until fluffy, then gradually add powdered sugar. Sift the sugar if it's lumpy.
Yes, use an 8-inch springform pan and bake for 25-30 minutes. The individual portions are more convenient for serving though.
Store covered in refrigerator for up to 5 days. The flavor actually improves after a day as the flavors meld together.
Recipe Troubleshooting Guide
Cracked Tops
Problem: Mini cheesecakes develop cracks on top
Solution: Don't overbake - remove when centers still jiggle slightly. Avoid opening oven door during baking and cool gradually.
Soggy Crust
Problem: Graham cracker crust becomes soggy
Solution: Press crust firmly and prebake for 5 minutes before adding filling. Ensure butter is evenly distributed through crumbs.
Lumpy Filling
Problem: Cheesecake filling has lumps
Prevention: Use room temperature cream cheese and beat thoroughly before adding other ingredients. Strain filling if necessary.
Uneven Color
Problem: Red color is streaky or uneven
Recovery: Mix food coloring thoroughly into cream cheese base before adding other ingredients. Use gel food coloring for more vibrant, even color.
Sunken Centers
Problem: Cheesecakes sink in the middle after cooling
Prevention: Don't overbeat after adding eggs, bake at correct temperature, and avoid rapid temperature changes during cooling.
Flavor Balance Issues
Too Sweet: Add a pinch more cocoa powder or increase vanilla extract
Too Salty: Increase powdered sugar in frosting or add more vanilla to filling
Bland: Increase vanilla extract and ensure cocoa powder is fresh and high-quality
Essential Ingredient Selection
Quality cream cheese is the foundation of exceptional cheesecake. Use full-fat, brick-style cream cheese (never the spreadable kind) for the richest flavor and smoothest texture. Philadelphia brand consistently delivers the best results due to its stable consistency and tangy flavor profile.
For the signature red velvet color, gel food coloring works better than liquid - it provides more vibrant color without thinning the batter. The combination of cocoa powder and vinegar not only contributes to the color but also creates that distinctive red velvet flavor profile.
Essential Ingredient Notes
- Cream Cheese Quality: Always use full-fat, brick-style cream cheese. Low-fat versions will result in less creamy texture and may not set properly.
- Food Coloring: Gel food coloring provides the most vibrant red color without affecting texture. Start with less and add more as needed.
- Graham Crackers: Use fresh graham crackers for the crispest crust. You can substitute with chocolate graham crackers for extra richness.

Mastering the Baking Process
Low and slow baking is essential for creamy mini cheesecakes. The relatively low temperature of 325°F prevents the proteins from cooking too quickly, which would result in a grainy texture. Watch for that telltale slight jiggle in the centers - they should be set around the edges but still move slightly in the middle.
Proper cooling technique prevents cracks and ensures smooth texture. Let the cheesecakes cool completely in the pan at room temperature before refrigerating. This gradual temperature change prevents the dramatic contraction that causes cracks and texture issues.
The Jiggle Test
Gently shake the muffin tin - the centers should jiggle slightly like set Jell-O. If they're completely firm, they're overbaked. If they're very wobbly, bake 2-3 minutes more.
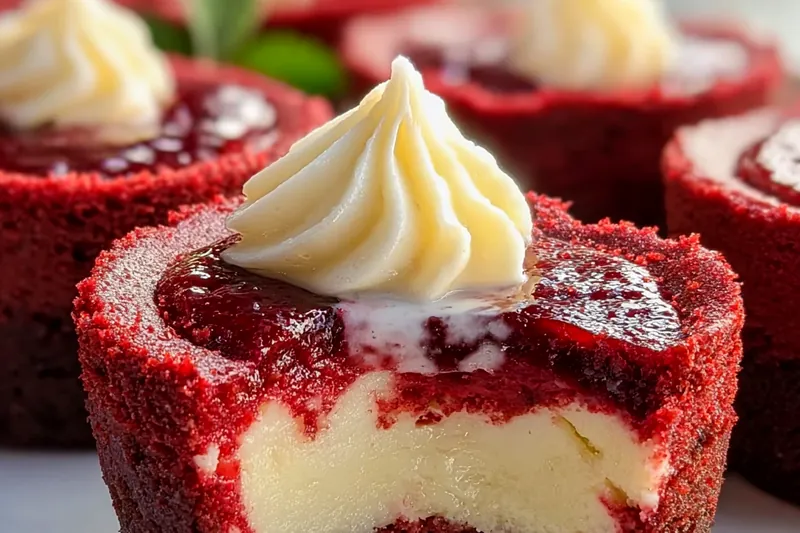
Mini Red Velvet Cheesecake
📋 Ingredients
For the Crust & Filling
- 115g cream cheese, softenedFor smooth, pipeable frosting
- 60g unsalted butter, softenedRoom temperature for best mixing
- 250g powdered sugarSift for smoothest frosting
- 5ml vanilla extractPure vanilla for best flavor
- Red velvet cake crumbsOptional beautiful garnish
For the Frosting
- 150g graham cracker crumbsFine, even crumbs work best
- 450g cream cheese, softenedMust be completely room temperature
- 100g granulated sugarProvides sweetness and structure
- 2 large eggsRoom temperature for smooth mixing
- 15ml red food coloringGel coloring works best
- 15g cocoa powderUnsweetened for authentic flavor
- 75g melted butterFor binding the crust
Instructions
Make Crust
Preheat oven to 325°F (165°C). Line 12-cup muffin tin with paper liners. Mix graham cracker crumbs, sugar, and melted butter until evenly moistened. Press 1 tablespoon mixture into bottom of each liner.
Prepare Filling
Beat cream cheese until smooth and fluffy, about 3 minutes. Add sugar and beat until combined. Beat in eggs one at a time, then sour cream, vanilla, food coloring, cocoa powder, and vinegar until smooth and evenly colored.
Fill and Bake
Divide filling evenly among muffin cups, filling each about 3/4 full. Bake for 16-18 minutes until centers are almost set but still slightly jiggly. Cool completely in pan, then refrigerate for at least 4 hours.
Make Frosting
Beat cream cheese and butter until light and fluffy. Gradually add powdered sugar and vanilla, beating until smooth and pipeable consistency is reached.
Decorate and Serve
Remove cheesecakes from liners. Pipe or spread frosting on top of each mini cheesecake. Garnish with red velvet cake crumbs or a small piece of red velvet cake. Serve chilled.
Recipe Notes & Tips
Storage Tips
Store covered in refrigerator for up to 5 days. These actually taste better after chilling overnight as the flavors meld beautifully together.
Make-Ahead Options
Mini cheesecakes can be made up to 3 days ahead without frosting, or frozen for up to 3 months. Add frosting just before serving for best appearance.
Presentation Ideas
Pipe frosting with a star tip for elegant swirls, or garnish with fresh raspberries, white chocolate shavings, or edible flowers for special occasions.