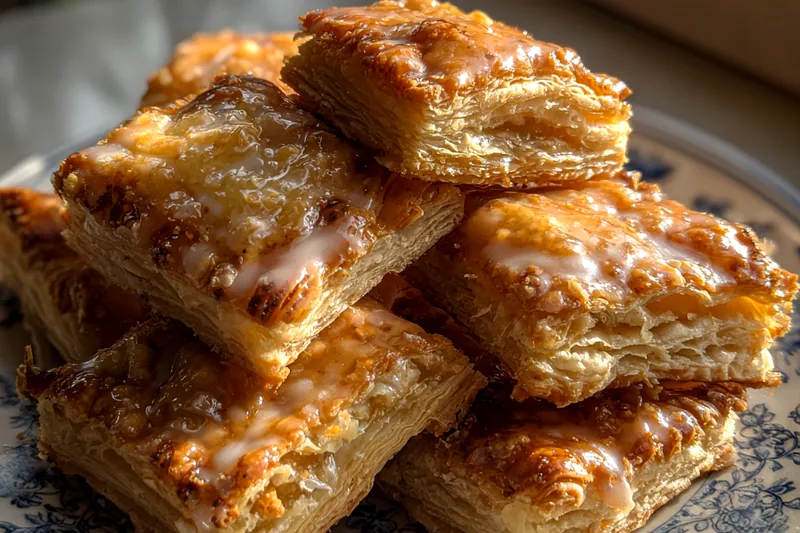
Glazed Buttermilk Pastry Squares
Glazed Buttermilk Pastry Squares are a delightful treat perfect for any occasion. These pastries are incredibly soft, flaky, and have the perfect amount of sweetness. With a buttery glaze that adds a touch of decadence, they are sure to please everyone. Whether for breakfast or dessert, these squares are a must-try!


Why This Glazed Buttermilk Pastry Squares Recipe Works
This recipe stands out because of its combination of simple ingredients that are easily accessible. The use of buttermilk provides a rich flavor and helps create that perfect flaky texture. Each square is baked to golden perfection, ensuring a satisfying crunch with each bite.
The technique of incorporating chilled butter into the dry ingredients creates a light and airy pastry. By mixing just until combined, you achieve the tenderness that makes these squares delectable. The sweet glaze adds a delightful finish that elevates the entire dessert.
💡 Professional Tip
For extra flakiness, ensure your butter is well-chilled and handle the dough as little as possible. If the dough feels warm while shaping, refrigerate it briefly before cutting and baking.
Frequently Asked Questions
Yes, you can prepare the dough a day in advance and refrigerate it until you're ready to bake. Just let it rest at room temperature for about 10 minutes before rolling it out. The glaze can also be made ahead of time and stored in the refrigerator.
If you don’t have buttermilk on hand, you can substitute with regular milk mixed with a tablespoon of vinegar or lemon juice. Let it sit for about 5 minutes before using to achieve a similar acidity and texture.
The pastries are done when they are golden brown on top and a toothpick inserted in the center comes out clean. Keep an eye on them towards the end of the baking time to prevent over-baking.
Yes, these pastries freeze well. Allow them to cool completely, then wrap them in plastic wrap and place them in an airtight container. They can be frozen for up to 3 months. Reheat in the oven before serving for the best texture.
These pastries are delicious on their own, but pairing them with fresh fruit or a scoop of ice cream can elevate the experience. A cup of coffee or tea also complements the sweet glaze beautifully.
In the refrigerator, these pastries will last for up to 3 days when stored in an airtight container. However, for the best flavor and texture, it's recommended to enjoy them fresh.
Absolutely! You can prepare and bake them ahead of time. Just store them in an airtight container once cooled. Reheat them in the oven for a few minutes before serving to bring back their freshness.
The best way to reheat these pastries is by placing them in a preheated oven at 350°F for about 10 minutes. This will help restore their flaky texture without making them soggy.
Recipe Troubleshooting Guide
Too Dry
Problem: If the pastries come out too dry, it may be due to too much flour or overmixing the dough.
Solution: Ensure you measure the flour accurately and avoid overmixing. Adding a bit more buttermilk can also help to hydrate the dough better.
Not Crispy Enough
Problem: If the pastries are not crispy, they may not have baked long enough, or the oven temperature was too low.
Solution: Make sure your oven is properly preheated, and bake the pastries until they are a rich golden brown for the perfect crispiness.
Overcooked
Problem: Overcooked pastries can become hard and dry.
Prevention: Keep a close eye on the pastries towards the end of the baking time and use a timer to avoid overbaking. Remove them as soon as they are golden.
Undercooked Center
Problem: If the centers are still doughy, it means they may not have baked long enough.
Recovery: You can cover them with foil if the tops are browning too fast and return them to the oven until cooked through.
Burnt Exterior
Problem: Burnt pastries usually result from too high of an oven temperature or positioning in the oven.
Prevention: Ensure to place your baking sheet in the center of the oven and check the oven temperature with a thermometer for accuracy.
Flavor Balance
Too Sweet: If the pastries are too sweet, consider reducing the sugar in the dough next time.
Too Salty: For overly salty pastries, use unsalted butter and check the salt content in other ingredients.
Bland: If the flavor is bland, try adding more vanilla or a hint of citrus zest to enhance the flavor profile.
Essential Ingredients for Glazed Buttermilk Pastry Squares
The key ingredients in this recipe include all-purpose flour, buttermilk, and butter. Each plays a crucial role in creating the perfect flaky texture. The buttermilk adds moisture and a slight tang, while the butter contributes to the rich flavor.
Using high-quality ingredients can elevate the taste of your pastries. Opt for fresh buttermilk and real butter instead of margarine to achieve the best results in flavor and texture.
Essential Ingredient Notes
- All-Purpose Flour: All-purpose flour is versatile and perfect for pastry making. Make sure to spoon it into your measuring cup and level it off for accuracy to avoid dense pastries.
- Unsalted Butter: Using unsalted butter allows you to control the salt content in your recipe better. Ensure it is cold when you begin to make the dough for optimal flakiness.
- Buttermilk: Buttermilk adds a unique tang and helps create a tender crumb. If you don’t have any, make a quick substitute with milk and vinegar as mentioned earlier.
Step-by-Step Cooking Process
Making Glazed Buttermilk Pastry Squares is a straightforward process that anyone can master. Start by mixing dry and wet ingredients separately to ensure even distribution. The key is to handle the dough gently to maintain its flakiness.
As you cut and shape the dough, remember that a light touch is essential. Once baked, the result is a beautifully golden square topped with a sweet glaze that will impress your family and guests.
Key Technique for Perfect Glazed Buttermilk Pastry Squares
The most crucial technique for achieving perfect Glazed Buttermilk Pastry Squares is to work with chilled ingredients. Keeping the butter and dough cold helps create those flaky layers that are so desirable in pastries.
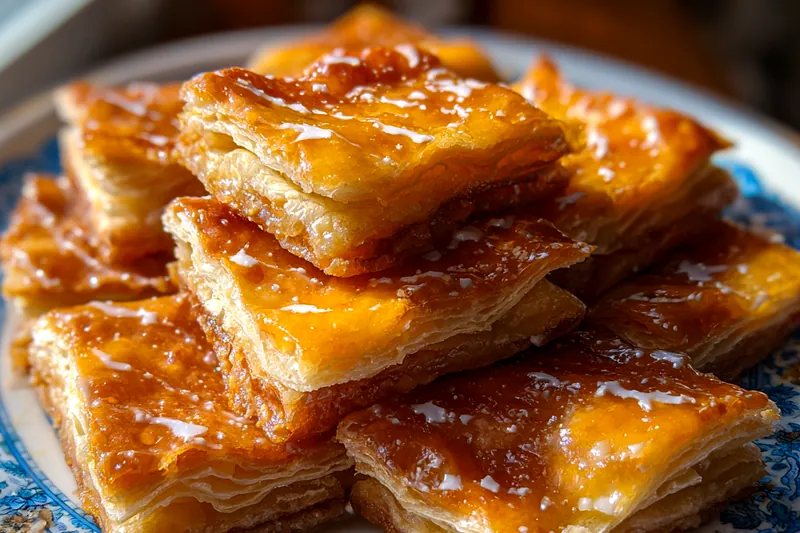
Glazed Buttermilk Pastry Squares
📋 Ingredients
Main Ingredients
- 1 cup butterRoom temperature
- 1 cup powdered sugarFor glazing
- 2 tablespoons milkFor glazing
- 1/2 teaspoon vanilla extractFor glazing
- Zest of 1 lemonOptional, for flavor
For the Sauce
- 2 cups all-purpose flourFor the dough
- 1/2 cup unsalted butterChilled and cubed
- 1/4 cup granulated sugarFor sweetness
- 1/2 teaspoon saltTo balance flavors
- 1/2 cup buttermilkFor moisture
- 1 large eggTo bind ingredients
- 1 teaspoon vanilla extractFor flavor
- 1 tablespoon baking powderLeavening agent
Instructions
Preheat the Oven
Preheat your oven to 400°F (200°C).
Prepare the Dough
In a large mixing bowl, combine flour, baking powder, sugar, and salt. Add chilled butter and mix until the mixture resembles coarse crumbs.
Mix Wet Ingredients
In a separate bowl, whisk together buttermilk, egg, and vanilla extract until well combined.
Combine Ingredients
Pour the wet mixture into the dry mixture and stir until just combined. Do not overmix.
Shape the Dough
Turn the dough out onto a floured surface and pat it into a rectangle about 1 inch thick.
Cut into Squares
Cut the dough into squares and place them on a baking sheet lined with parchment paper.
Bake
Bake in the preheated oven for about 25-30 minutes, or until golden brown.
Prepare Glaze
While the pastries are baking, mix together powdered sugar, milk, and vanilla extract in a small bowl until smooth.
Glaze the Pastries
Once the pastries are out of the oven, drizzle the glaze over them while they're still warm.
Cool and Serve
Allow the glazed pastries to cool slightly before serving.
Recipe Notes & Tips
Storage Tips
To store Glazed Buttermilk Pastry Squares, keep them in an airtight container at room temperature for up to 3 days. For longer storage, refrigerate for up to a week, but note that they may lose some of their crispness.
Serving Suggestions
Serve these pastries warm or at room temperature. They can be enjoyed plain or with a side of fresh fruit or whipped cream for an extra special treat.
Recipe Variations
For a twist, try adding chocolate chips or nuts into the dough before baking. You can also experiment with different flavors of glaze by incorporating citrus juices or spices.