Easy Garlic Parmesan Cheeseburger Bombs
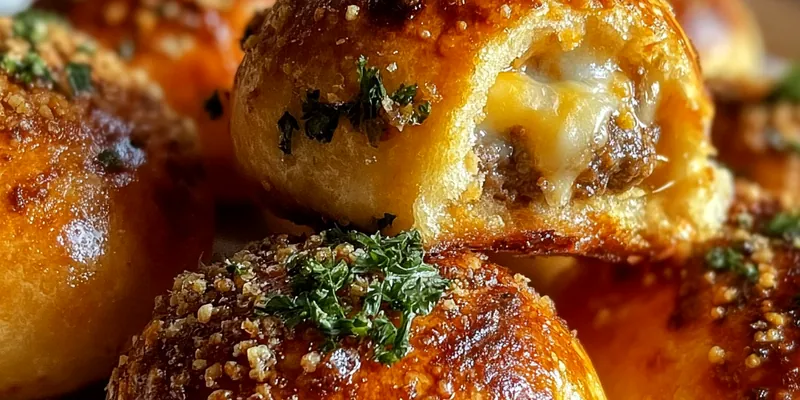
Irresistible garlic parmesan cheeseburger bombs with melted cheese centers wrapped in seasoned ground beef and golden breadcrumb coating. Perfect party appetizer or fun dinner.

The Secret to Perfect Cheese-Stuffed Bombs
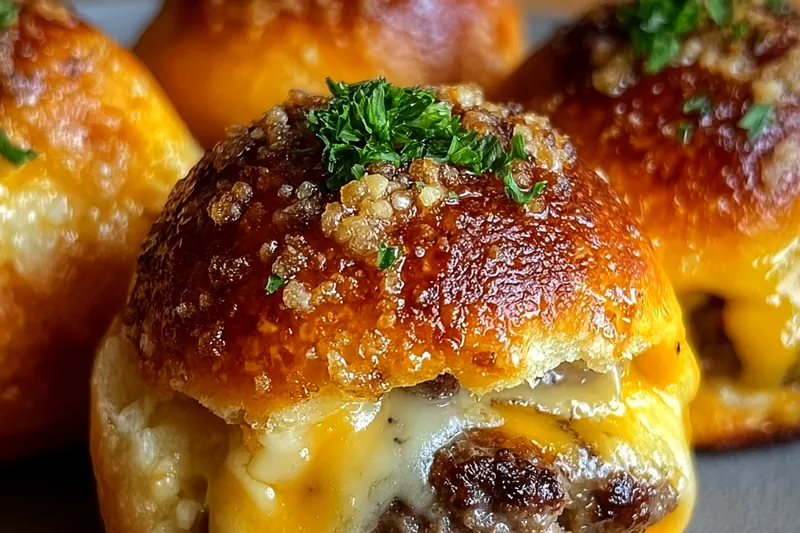
The key to successful cheeseburger bombs lies in properly sealing the cheese inside the meat mixture. Use cold cheese cubes and work quickly to prevent the cheese from softening too much during assembly. Each bomb should be completely sealed to prevent cheese leakage during cooking.
The garlic parmesan coating creates a restaurant-quality crust that's both flavorful and texturally satisfying. The combination of panko breadcrumbs and Parmesan cheese ensures maximum crunch while the garlic powder and paprika add depth and visual appeal.
💡 Professional Tip
Chill the formed bombs for 30 minutes before coating and cooking. This helps them hold their shape better and prevents the cheese from melting out during the cooking process.
Frequently Asked Questions
Yes, you can form and coat the bombs up to 4 hours ahead. Store covered in the refrigerator and cook directly from cold, adding 2-3 extra minutes to the cooking time.
Mozzarella works perfectly for the melted center, but you can also use cheddar, pepper jack, or even cream cheese for different flavor profiles.
Absolutely! Bake at 400°F for 18-22 minutes, turning once halfway through. Place on a wire rack over a baking sheet for even browning.
Make sure to completely seal the meat around the cheese cube, leaving no gaps. Chilling before cooking also helps the meat set and hold its shape better.
Use a meat thermometer to check for an internal temperature of 160°F (71°C). The exterior should be golden brown and the bombs should feel firm when gently squeezed.
These work great as appetizers with marinara sauce, ranch dressing, or garlic aioli for dipping. As a main dish, serve with fries and a simple salad.
Yes, but add an extra egg and a tablespoon of olive oil to the mixture since turkey is leaner. Cook slightly longer to ensure they reach safe internal temperature.
Store in the refrigerator for up to 3 days. Reheat in a 350°F oven for 8-10 minutes to restore crispiness, or microwave briefly for a softer texture.
Recipe Troubleshooting Guide
Cheese Leaking Out
Problem: Cheese melts out during cooking
Solution: Ensure complete sealing of meat around cheese, chill before cooking, and don't use too much cheese per bomb.
Coating Not Sticking
Problem: Breadcrumb coating falls off during cooking
Solution: Press coating firmly into surface, ensure meat mixture has enough egg for binding, and don't move bombs too early while cooking.
Uneven Cooking
Problem: Some bombs cook faster than others
Prevention: Make bombs uniform in size, don't overcrowd the pan, and turn regularly for even browning on all sides.
Dry Texture
Problem: Bombs turn out dry despite proper cooking
Recovery: Use 80/20 ground beef, don't overmix the meat, and avoid overcooking. The internal temperature should just reach 160°F.
Burnt Exterior
Problem: Coating burns before meat is cooked through
Prevention: Lower heat to medium-low and cook longer, or finish in a 350°F oven after initial browning.
Flavor Balance Issues
Too Sweet: Add more black pepper or a pinch of cayenne
Too Salty: Serve with a sweet dipping sauce or fresh herbs
Bland: Increase garlic powder, add more Worcestershire sauce, or finish with herb butter
Choosing the Right Ingredients
Quality ground beef with an 80/20 fat ratio is essential for juicy, flavorful cheeseburger bombs that won't dry out during cooking. The fat content helps keep the meat moist while creating a tender texture that contrasts beautifully with the crispy coating.
Fresh mozzarella cut into uniform cubes ensures consistent melting and prevents some bombs from having too much or too little cheese. The combination of fresh garlic and garlic powder provides both immediate aromatic impact and deeper, roasted garlic flavor throughout.
Essential Ingredient Notes
- Ground Beef Quality: Choose freshly ground beef from a reputable source. The 80/20 blend provides the perfect balance of flavor and moisture for these bombs.
- Cheese Selection: Low-moisture mozzarella works best as it melts perfectly without making the bombs soggy. Cut into uniform 1/2-inch cubes for consistent results.
- Breadcrumb Choice: Panko breadcrumbs create the best texture for the coating. You can lightly toast them in a dry pan for extra crunch and nutty flavor.
Mastering the Cooking Process
The key to perfectly cooked cheeseburger bombs is maintaining consistent medium heat and turning them regularly. This ensures even browning on all sides while allowing the interior to cook through without burning the coating.
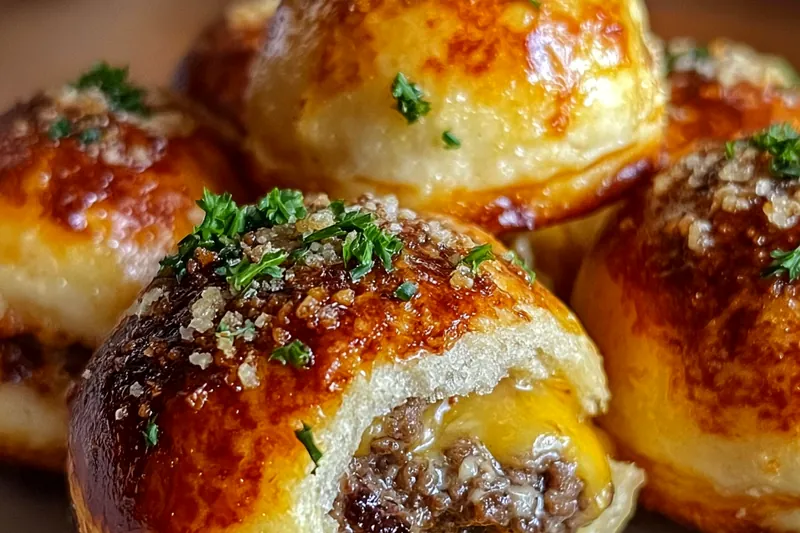
Finishing with melted butter and fresh herbs elevates these from simple meatballs to restaurant-quality appetizers. The butter adds richness and helps the final garnish adhere, while fresh parsley provides a bright color contrast.
The Perfect Turn
Turn the bombs every 3-4 minutes using a spoon and fork to maintain their round shape. Gentle handling prevents the coating from falling off and keeps the cheese sealed inside.
Easy Garlic Parmesan Cheeseburger Bombs
📋 Ingredients
For the Meat Mixture
- 100g panko breadcrumbsCreates the perfect crispy coating
- 40g grated Parmesan cheeseFor coating mixture
- 1 tsp garlic powderEnhances the garlic flavor
- 1/2 tsp paprikaAdds color and mild flavor
- 45ml olive oilFor cooking the bombs
- 45g melted butterFor finishing and extra richness
- 2 tbsp fresh parsleyFor fresh garnish and color
For the Coating
- 680g ground beef (80/20 blend)Perfect fat ratio for juicy bombs
- 225g mozzarella cheese cubesCreates the melted cheese center
- 2 large eggs, beatenHelps bind the mixture
- 40g grated Parmesan cheeseFor the meat mixture
- 4 cloves garlic, mincedFresh garlic adds aromatic depth
- 30ml Worcestershire sauceAdds umami and complexity
- 15ml Dijon mustardProvides tang and helps binding
Instructions
Prepare Coating
In a shallow bowl, combine panko breadcrumbs, half the Parmesan cheese, garlic powder, paprika, and a pinch of salt. Set aside.
Make Beef Mixture
In a large bowl, combine ground beef, remaining Parmesan, minced garlic, eggs, Worcestershire sauce, Dijon mustard, onion powder, salt, and pepper. Mix gently until just combined.
Form the Bombs
Take 2-3 tablespoons of beef mixture, flatten in your palm, place a cheese cube in center, and wrap beef around cheese, sealing completely. Roll into smooth balls. Repeat to make 16 bombs.
Coat and Cook
Roll each bomb in the breadcrumb mixture, pressing to adhere. Heat olive oil in a large skillet over medium heat. Cook bombs in batches, turning frequently, for 12-15 minutes until golden brown all over and cooked through.
Finish and Serve
Brush with melted butter and sprinkle with fresh parsley. Serve immediately while cheese is melted and coating is crispy.
Recipe Notes & Tips
Storage
Cooked cheeseburger bombs keep in the refrigerator for up to 3 days. For best results, reheat in a 350°F oven to maintain crispiness rather than microwaving.
Serving Suggestions
Serve with marinara sauce, ranch dressing, or garlic aioli for dipping. They also work great as a main dish with fries and coleslaw.
Variations
Try different cheese centers like cheddar or pepper jack, or add bacon bits to the meat mixture for extra flavor. You can also experiment with different herbs in the coating.