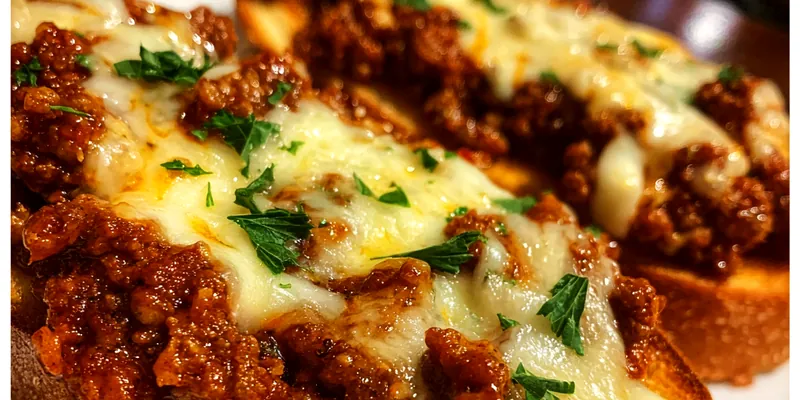
Cheesy Garlic Beef Melts
Indulge in the mouthwatering delight of Cheesy Garlic Beef Melts, a beloved American lunch option that brings comfort and satisfaction. With a perfect blend of cheeses and seasoned beef, these melts are perfect for any occasion. Easy to prepare and deliciously cheesy, they are sure to become a family favorite. Let's dive into the details of this delectable recipe!

Why This Cheesy Garlic Beef Melts Recipe Works
The Cheesy Garlic Beef Melts recipe stands out due to its rich flavor profile and comforting texture. Combining the savory taste of ground beef with a melty cheese blend creates a dish that's indulgent yet simple to make. The addition of garlic enhances the overall flavor, making it irresistible.
Using high-quality ingredients and the right cooking technique ensures that each melt is perfectly cheesy and flavorful. The method of baking allows the flavors to meld beautifully, resulting in a satisfying crunch on the outside while remaining soft and gooey on the inside.
💡 Professional Tip
For the best results, make sure to use freshly grated cheese rather than pre-shredded cheese. Fresh cheese melts better and gives your melts a creamier texture. Additionally, feel free to experiment with different types of cheese to customize the flavor to your liking.
Frequently Asked Questions
Yes, you can prepare the beef mixture ahead of time and store it in the refrigerator for up to 24 hours. When you're ready to serve, simply assemble the melts and bake them as directed. This makes it a convenient option for busy days.
You can substitute ground turkey, chicken, or even a meat substitute like lentils or plant-based crumbles if you prefer a vegetarian option. Just be sure to adjust the cooking time accordingly, as different proteins may require different cooking methods.
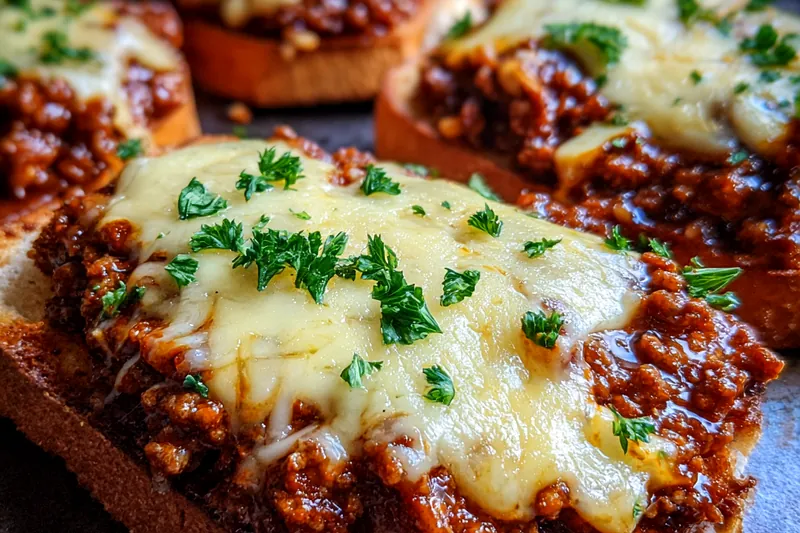
The melts are done when the cheese is bubbly and golden brown, and the buns are slightly toasted. A good indicator is to look for the cheese starting to ooze out of the sides, which means it's gooey and ready to eat.
Yes, you can freeze the assembled melts before baking. Wrap them tightly in plastic wrap and then in foil. They can be stored in the freezer for up to 2 months. When ready to eat, thaw them in the refrigerator overnight and bake as directed.
These melts pair wonderfully with a simple side salad, crispy potato wedges, or a bowl of soup. You can also serve them with dipping sauces like ranch or marinara for added flavor and fun.
Stored properly in an airtight container, Cheesy Garlic Beef Melts can last in the fridge for up to 3 days. Reheat them in the oven or microwave until warmed throughout before serving.
Yes, you can prepare the filling in advance and store it in the refrigerator for up to 24 hours. Assemble the melts and bake them just before serving for the best texture and flavor.
The best way to reheat Cheesy Garlic Beef Melts is in the oven at 350°F (175°C) for about 10-15 minutes, or until heated through. This will help maintain the crispy texture of the buns and keep the cheese melty.
Recipe Troubleshooting Guide
Too Dry
Problem: If the filling seems dry, it may be due to overcooking the beef or not enough cheese.
Solution: Add a little cream cheese or a splash of beef broth to moisten the mixture before assembling the melts.
Not Crispy Enough
Problem: If the melts are not crispy enough, it may be due to insufficient baking time.
Solution: Increase your baking time slightly, checking regularly to avoid burning. You can also broil the melts for a minute at the end to achieve extra crispiness.
Overcooked
Problem: Overcooked melts can result in tough buns and dry filling.
Prevention: To prevent overcooking, always keep an eye on your melts while baking and remove them from the oven as soon as the cheese is bubbly and the buns are slightly toasted.
Undercooked Center
Problem: If the center of the melts is undercooked, the cheese may not melt properly.
Recovery: If you notice an undercooked center, return the melts to the oven for a few additional minutes until they are fully heated through.
Burnt Exterior
Problem: Burnt exterior can happen if the oven temperature is too high or the melts are left in for too long.
Prevention: To prevent burnt exteriors, consider lowering the oven temperature slightly and covering the melts with foil for the first 10-15 minutes of baking, then remove the foil to crisp up the tops.
Flavor Balance
Too Sweet: If the melts are too sweet, consider adding a splash of vinegar or lemon juice to brighten the flavor.
Too Salty: If it's too salty, adding a bit of sugar or more cheese can help balance it out.
Bland: If your melts are bland, try adding more seasoning like garlic powder, onion powder, or fresh herbs to enhance the flavor.
Essential Ingredients for Cheesy Garlic Beef Melts
The key ingredients for Cheesy Garlic Beef Melts include ground beef, a blend of cheeses, and fresh garlic. Each component plays a crucial role in creating the rich, savory flavor that makes this dish so appealing. The combination of cheddar and mozzarella provides a perfect meltiness that complements the beef beautifully.
Using high-quality ingredients is essential for achieving the best flavor and texture. Fresh, grass-fed beef will enhance the taste of your melts, while fresh garlic adds a fragrant aroma. Opt for block cheese and grate it yourself to ensure maximum freshness and melting capability.
Essential Ingredient Notes
- Ground Beef: Choose lean ground beef for a healthier option, and don't be afraid to experiment with different blends like chuck for more flavor. Make sure to season it well to ensure it doesn't taste bland.
- Cheddar Cheese: Opt for sharp cheddar for a stronger flavor. Grating it yourself will ensure it melts beautifully into the beef mixture, creating that gooey texture we all love.
- Garlic: Fresh garlic is key to enhancing the flavor profile of the melts. Use a garlic press to get a fine mince, releasing its oils and ensuring a strong garlic flavor in every bite.

Step-by-Step Cooking Process
Making Cheesy Garlic Beef Melts is a straightforward process that involves cooking the beef, mixing in the cheese, and then baking. Start by browning the beef and aromatics before combining them with the cheeses for a rich filling. The final bake allows the flavors to meld together beautifully.
To achieve perfect results, ensure your ingredients are prepared correctly and follow the steps closely. Keeping an eye on the baking process will help you achieve that ideal golden crust while ensuring the cheese remains gooey and delicious.
Key Technique for Perfect Cheesy Garlic Beef Melts
The most important technique for making Cheesy Garlic Beef Melts lies in the mixing of the cheeses with the beef. This ensures that every bite is packed with flavor and creaminess. Additionally, proper baking time is crucial to achieve that golden brown top without overcooking the filling.
Cheesy Garlic Beef Melts
📋 Ingredients
Main Ingredients
- 1 cup butterRoom temperature
- 1 cup heavy creamFor extra creaminess
- 1/4 cup grated Parmesan cheeseFor added flavor
- 2 tbsp chopped fresh herbsBasil or parsley work well
- Salt and pepperTo taste
For the Sauce
- 1 lb ground beefBrowned and drained
- 1 cup shredded cheddar cheeseSharp or medium
- 1 cup shredded mozzarella cheeseFor that gooey stretch
- 1/2 cup cream cheeseSoftened for easier mixing
- 3 cloves garlic, mincedFresh is best
- 1/2 cup chopped onionSweet or yellow onion works
- 1 tsp Worcestershire sauceFor depth of flavor
- 4 large hamburger bunsFor serving
Instructions
Preheat the Oven
Preheat your oven to 350°F (175°C).
Cook the Beef
In a skillet, cook the ground beef over medium heat until browned. Drain excess fat.
Add Aromatics
Add minced garlic and chopped onion to the skillet, cooking until the onion is translucent.
Mix in Cheeses
Stir in the cream cheese, Worcestershire sauce, cheddar cheese, mozzarella cheese, salt, and pepper until well combined.
Prepare Buns
Spread softened butter mixed with garlic powder on the inside of each hamburger bun.
Assemble Melts
Fill each bun with the cheesy beef mixture and sprinkle with parsley and paprika.
Bake
Place the buns on a baking sheet and bake in the preheated oven for 15-20 minutes, or until the cheese is bubbly.
Serve
Remove from the oven and let cool for a few minutes before serving.
Recipe Notes & Tips
Storage Tips
To store leftover Cheesy Garlic Beef Melts, place them in an airtight container in the refrigerator. They can last for up to 3 days. To reheat, place them in the oven or microwave until heated through.
Serving Suggestions
These melts can be served with a side of crispy fries, a fresh coleslaw, or a light salad for a balanced meal. Add some dipping sauces like ranch or ketchup for extra flavor.
Recipe Variations
For a twist on this recipe, consider adding jalapeños for some heat or using different cheese blends like pepper jack or gouda. You can also use different proteins like chicken or turkey for a lighter option.